background
Showing posts with label DIY. Show all posts
Wednesday, August 9, 2017
Wednesday, March 8, 2017
Easy Sidewalk Makeover
If it’s a sunny day in Indiana, it’s almost guaranteed that you’ll see my husband and I tooling about the yard. Whether we’re starting a big project or simply picking up fallen sticks, we’re sure to be out and about.
When we bought our home nearly four years ago, the yard was by far the biggest eyesore. Visit the posts on koi pond removal, shed renovation or patio flip to see what I mean. (And please excuse some missing photos. Blogger no longer uses Picasa to host photos and when switching to Google many of the images were lost 😥).
The yard itself was sparse, stringy and uneven but I’ll leave that for another post. The biggest eyesore, at least from the road, was our driveway and sidewalk.
(Pause… if anyone knows how to request an updated Google street view of a home/street PLEASE MESSAGE ME NOW!)
You can see that update here, but before we were able to pull the trigger on that, we had to do some prep work.
Subject A:
These landscaping rocks were likely nice back in their prime. Years of moisture and shade allowed them to become discolored and drab and power washing wasn’t doing them justice. Since we were replacing our sidewalk anyway, removing them seemed like a good idea.
Now you’re probably wondering why I would waste an entire blog post talking about the removal of landscaping rocks. This again, is a gentle reminder that one man’s trash is another man’s treasure.
I sold these stones to some folks via Facebook garage sale. When they picked them up and told me what they intended to do with them, I felt was delighted to hear that they were going to live another purposeful life and not join the troves of reusable treasures at the landfill. One lady was using them to line the bottom of her fire pit while another was using them to build a fire pit. Awesome.
Oh, and I did make a quick buck (I think something like $20-$30), much to the surprise of my husband who is still dumbfounded at what people buy.
With that, I’ll challenge you… what trash of yours is another man’s treasure?
Thanks for stopping by the Humble Hammock!
Cara
Sunday, December 18, 2016
DIY: Necklace Makeover
I bought this adorable, snake-skin collar necklace from Kohls a few years ago. Like most accessories, it began to show wear and the glue from the snake skin began to peel off.
Rather than throw it away, I decided to attempt to re-skin it with some new material. I bought a roll of sticky drawer liner from Target (yep, for $2), and cut it to fit by tracing the old snake-sin pieces.
I then peeled the back of my cutouts and stuck them to the necklace!
Thanks for stopping by the Humble Hammock!
Cara
Tuesday, July 26, 2016
DIY: Plant Stand Makeover
Thrifting is all about the hunt. Truth be told, I've spent a couple of years looking for a specific item. Sure, I could go purchase it new from a big box store or even look on eBay, but the reality is that the hunt is more exciting than finding the item. Sometimes I even find what I'm looking for and decide to be picky and pass that particular product over to find one in better shape.
This spring I took my mom antiquing, or "teeking" as my grandmother calls it. It's something that we both enjoy and it's a good excuse to spend some quality time together. While out and about in some unchartered teeking territory, we came upon not only a humble little shop, but a honey hole of inexpensive and unique items.
The only find I'm going to blabber on about today is this $7 plant stand. It was handmade by some form of carpenter, who knows how long ago. I was immediately drawn to the size (which would pair well with a taller stand and a ground-level pot) and the fun shape.
It doesn't take a rocket scientist to see that all this little gem needed was a fresh coat of paint and new home. Both are things that I happen to be able to provide.
I made quick stop in the paint aisle during my subsequent home store trip and picked up this $3 can of shiny gold paint. Then I zipped home and ran the grittiest sandpaper I could find over the stand.
Within ten minutes I took this stand from 1970 to 2016 and I couldn't be happier with the end result!
Thanks for stopping by the Humble Hammock! Be sure to follow this page or bookmark it in your browser for more great DIY inspiration later!
Saturday, July 16, 2016
DIY: Stripping Furniture
In due time I'll write a blog post about my Brownie Camera Collection and the hunt that continually ensues. Until then, I'll tell you that I've been looking for a curio cabinet for these beautiful cameras for nearly a decade.
Most of my friends have heard about my infatuation with Facebook's garage sale groups. I've alluded to them before. I rarely purchase items but I'm always on the prowl for very specific items.
I found this cabinet *yes, this is a screen shot from my phone* and knew right away that the scalloped portion on top would pair nicely with a pair of vintage end tables my mother gave me. The going price was $75, but I managed to talk the seller down to $60. There was a loose leg and the glass was popped out on one side, but I had faith in myself and my husband's tool box.
Pine can be stained to match other woods fairly easily as it has a neutral undertone and can be tinted to match woods with stronger hues. So off I went to strip this pine cabinet and ultimately tint it to match my cherry end tables.
For those of you who have never stripped furniture I recommend pulling the item completely apart so that you can move quickly once you get the stripping process started. Be sure to make room for the wood to dry (standing up) and invest in some thick rubber gloves (I use elbow-high dishwashing gloves from the local grocery). I also like to do the stripping over a drop cloth or trash can to mitigate extra mess.
Citristrip (sold at Home Depot) is one of my favorite stripping agents. It costs less than $20 and will last through multiple pieces of furniture. It's orange based unlike many of the harsh chemical based strippers. The smell is far less overpowering, but don't be fooled - it still packs a tough strip. When using this product I pair it with:
- blue shop towels
- a stripping tool
- old plastic cup and sponge
- elbow-length rubber gloves
To strip:
- Slip on your rubber gloves
- Pour some Citristrip into the old cup and add the sponge
- Glob the product onto the wood with the sponge and begin scrubbing/rubbing onto the wood
At this point the wood will begin to appear watery as the stain/top coat loosens. Keep working the sponge and breaking loose the old covering. If it becomes tacky you'll need to add more Citristrip and keep it moving. DON'T TRY SCRAPING IF IT'S TACKY. You will easily damage the grain of the wood.
Don't cut corners like I did in these photos. These gloves were leaking Citristrip and caused my hands to peel for more than a week. Don't do this to yourself...
Once the watery top coat is covering the top of the wood, grab your scraper tool and begin to apply pressure and push the solution to the top of the tool before wiping in your shop towel. See the demonstration below...
This is going to be a longer process for pieces with multiple layers of sealant or paint. Be prepared to take your time on each piece to do a quality job before moving on to the next piece. If the wood appears "shiny" after the top coat has been removed there is still remaining topcoat. You may need to repeat steps 2-3 times to see results.
Here's my before and after progress!
And here is the stripped cabinet! This cabinet had one layer of a light stain and came off fairly easily. I had the cabinet and shelves stripped in just a couple of hours.
Wednesday, May 4, 2016
Desk Chair Refresh
DISCLAIMER: This post is extremely simple and is only being posted for those with before/after infatuations.
I've had this chair since I was a little girl. It was once white, then brown, and most recently cream with a monogram (see below).
You probably know by now that I can't leave any craft unattempted, so I decided to upgrade my sturdy old chair with a fresh coat of paint. I like to categorize the covering of the monogram and cheesy craft paint as "adulting."
Sherwin Williams, among other brands, have paint samples (yes, for walls. if you can't handle that I put wall paint on this chair you are free to continue surfing the internet) that go on sale every so often at various home stores for somewhere in the ballpark of $2 or less. I got this 3.75 oz jar from Lowes in January and chose a nice shade of blue/grey called Grayish.
Truth be told it ended up on my chair because we repainted our entire downstairs hallway with a different blue/grey paint and I wasn't going to use this sample on any of my walls.
It took two coats a little patience but it didn't look too shabby once I finished! I have a chair cushion that I use on this chair that I'll be recovering to match. We'll save that whole excursion for another post...
And now.... before and after!
Thanks for stopping by the Humble Hammock. Come back soon to see what other projects I manage to tackle!
Cara
Wednesday, March 23, 2016
Upcycled Patio [Pt. 2]
If you missed out on the initial stages of the patio makeover, take a moment to get up to speed. Then join us here...
As new homeowners it was fair to assess that we knew very little about anything. Since we were going to learn as we went anyway, why not create the patio of our imaginations, right?
After searching on Google and Pinterest, I came across this inspiration and showed it to my husband. We agreed that not only did it look feasible for our skill set, but affordable too. So we started noodling the numbers to estimate what we should expect to spend with landscaping stones/seal/glue, mulch, edging materials, plants, and patio furniture.
During the winter months we spent our time perusing Menards for the retaining wall rock. The plan? Leave the concrete pad and build a rock wall on three sides with two openings to enter and exit the space. We settled on Catalina (tan) from Menards and ordered it in store.
Fortunate for us, Menards delivered the 2,000+ pounds of rock. But they did so on the rainiest spring day Indiana could conjure and they had to park the semi in the street while using the fork lift to unload two pallets in our driveway rather than our back yard. Yours truly got to gopher them through the garage before stacking them in our workspace so as to save the yard while Andrew was traveling for work. I have to admit, I did take a lot of pride in that...
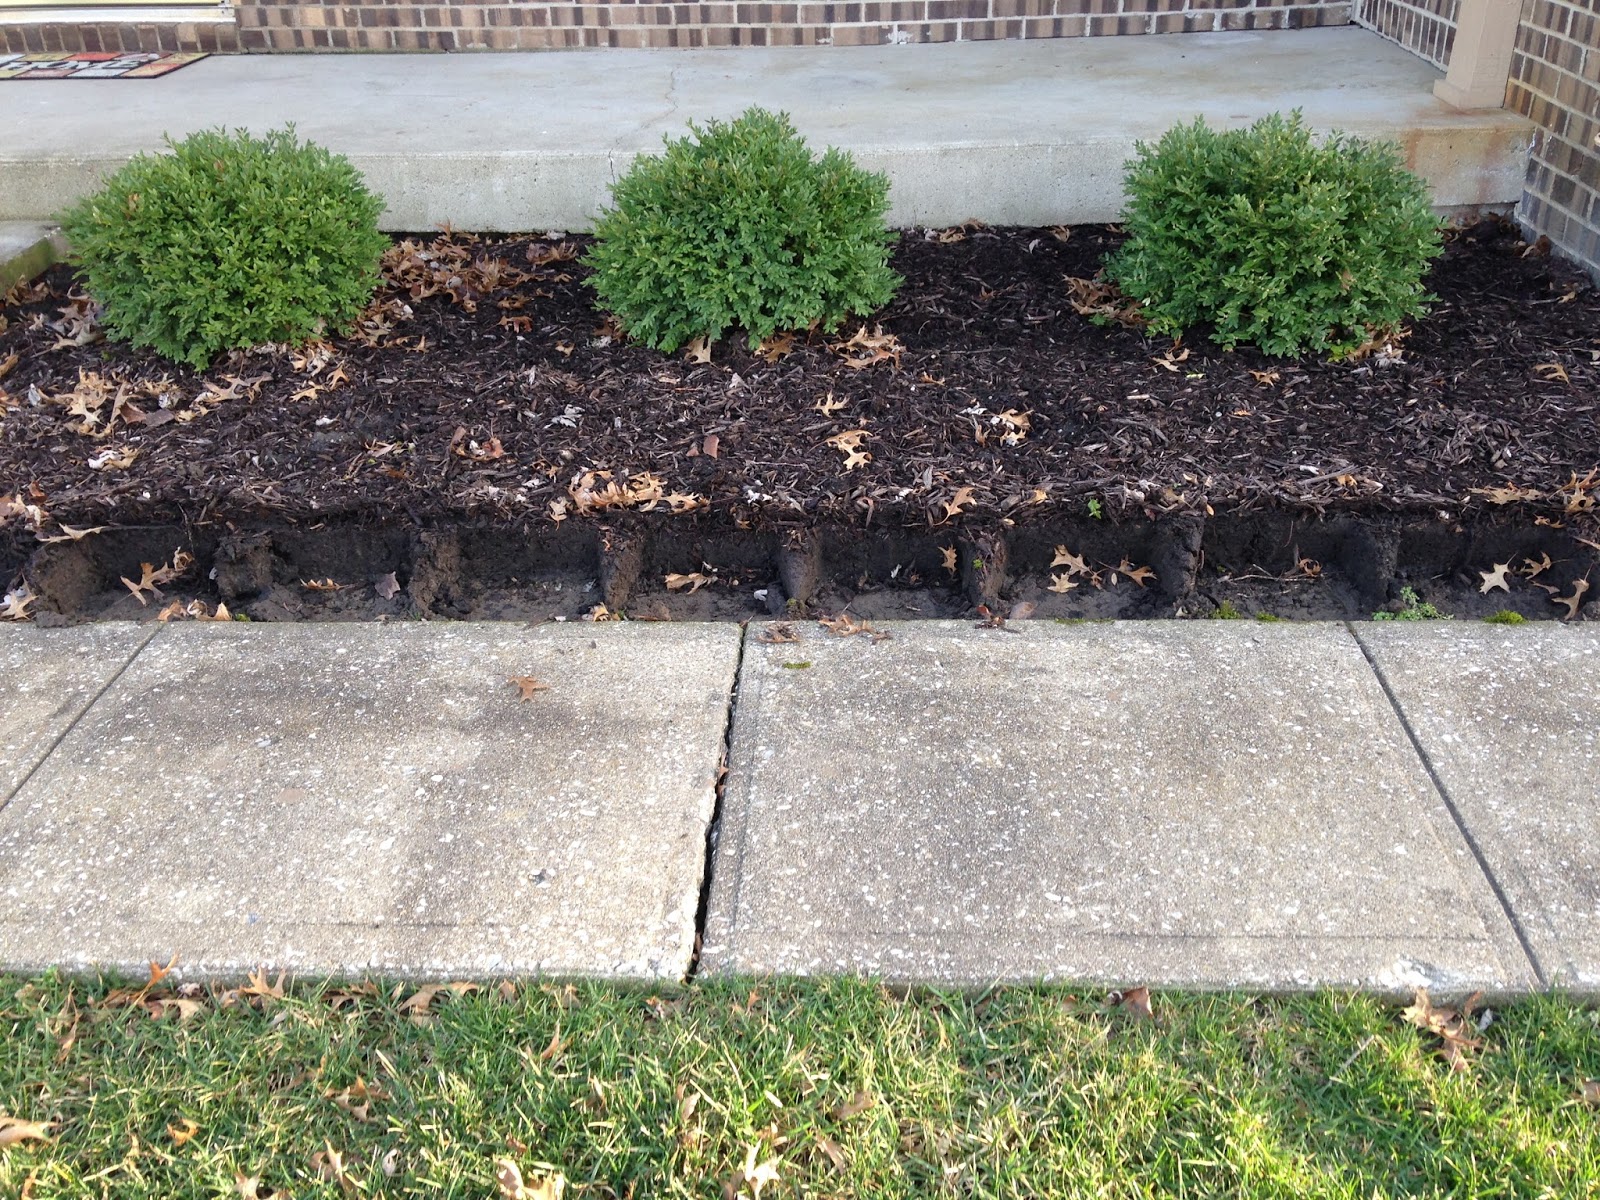
The trick is to really hollow out the space for your edging. It's easier to fill in a space that's too deep and adjust as you're laying it and fill in the dirt with your hand as you go.
You've heard me say it before... one man's trash is another man's treasure. Sorry to be so cliche', but it's true. In true fashion I sold these pallets to other DIYers on our local garage sale site so that I could buy flowers for this new space!
UPDATE: they did return this year but have yet to produce a flower. :(
Slow but sure, it's come along!
Thanks for stopping by the Humble Hammock! What questions did you have from this project?
Meanwhile, in retaining rock wall land...
And then while I was on a bachelorette party to Las Vegas he and his brother finished this masterpiece!
Now this next part intimidated me the most. Most that know my experience with plants know that I do not possess a green thumb. In fact, I'm pretty sure I've returned five or six succulents to Home Depot because I have no idea how to make them happy.
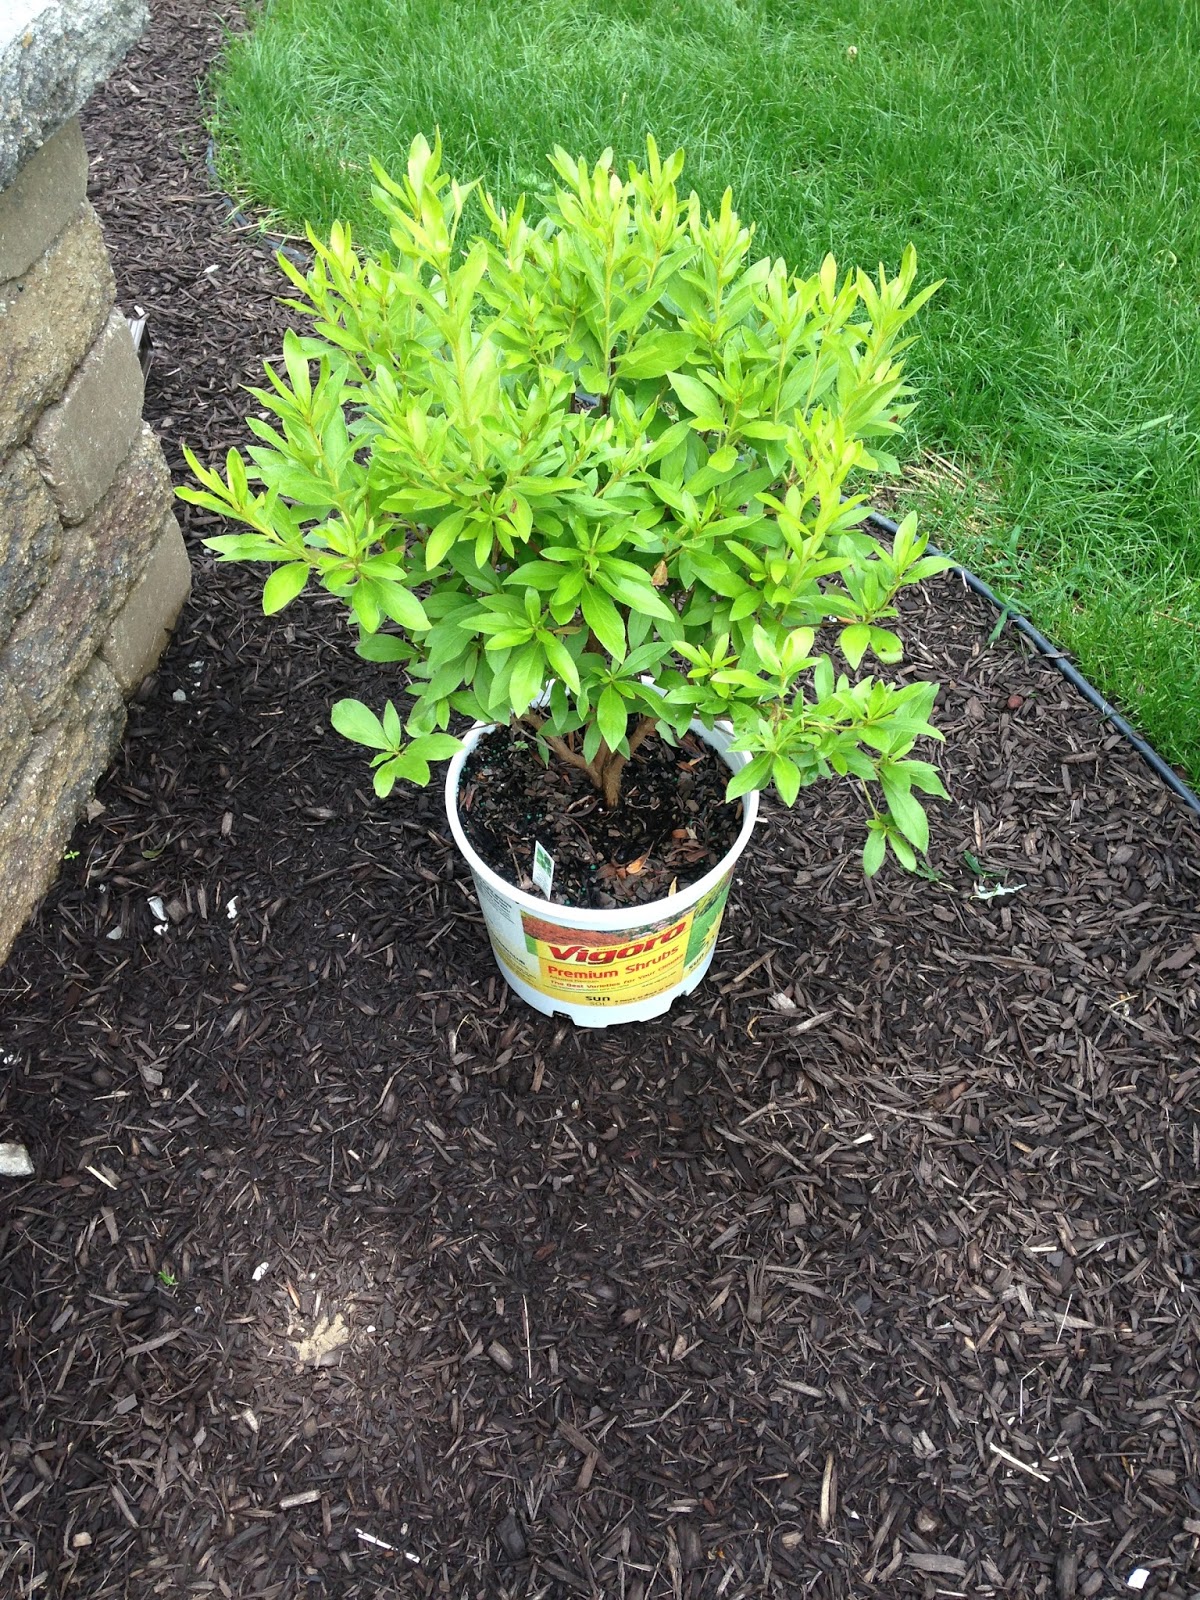
During this process there are two humans, constantly wrangling the lines of thrifty and "this doesn't look thrifted" to come up with solid landscaping options. This first beauty (which we bought two of), was on super sale for $6. It's an Azalea which I am happy to report DID survive through the winter.
Quick rabbit hole.. My husband is still driving his "truck" from high school and their love runs deep. We can debate the term "truck" on another blog post, but I often entice him to prove truck-like attributes. This ended with him severely overloading the cab and bed with more plants than I could possibly kill in one afternoon and gave me one of my favorite homeowner memories.
Those five precious arbor vitae that you see in the back were planted that afternoon. Yes, they too are still alive and well (believe it or not)! You can see my edging work below too - before we plucked the grass and mulched.
I hate mulch. I think fresh mulch smells like dog poop and I hate putting it all around my house so that when outside all I can think is that someone is slacking on the poop scooping. None the less, Andrew insisted we get mulch, so we visited Edgewood Feed and Seed and settled on the deep brown option from their sample box. Which yes, is even further reminiscent of the poop simile.
Mulching isn't anything to write home about - especially the first time you cover all of the space you want to much. Three or four yards later (I forget honestly), after unloading it in the blazing sun and pouring down rain I was just happy to be done.
When we did finish mulching, Andrew laid grass seed along the edging to fill in the areas we'd disrupted during our project. It grew very well and was filled in before the end of the season.
I even did edged the side bed too. After we bought three burning bushes I learned that they're not indigenous to Indiana. Unfortunately for me I was face-to-face with a forester and had to appear revolted when she told me that her sister had tried to put the horrible plants in her landscaping. I guess the bonus is that they haven't technically turned red and proven to us that they're truly burning bushes so that makes me feel less guilty. :|
Projects like these don't really end in your back yard. Before you know it the front yard looks like garbage against the remnants that peek through in the back. Which led to this...
Then this...
And now... do you remember what we started with?
Here's the transformation!
When it was all said and done it came together really nicely. We've already made additional improvements since this was taken late last summer, but what a transformation!
Side note, continue reading to learn about our patio set and how I stained it.
Subscribe to:
Posts (Atom)