background

Showing posts with label backyard. Show all posts

Wednesday, March 23, 2016

Upcycled Patio [Pt. 2]

If you missed out on the initial stages of the patio makeover, take a moment to get up to speed. Then join us here...

As new homeowners it was fair to assess that we knew very little about anything. Since we were going to learn as we went anyway, why not create the patio of our imaginations, right? 

After searching on Google and Pinterest, I came across this inspiration and showed it to my husband. We agreed that not only did it look feasible for our skill set, but affordable too. So we started noodling the numbers to estimate what we should expect to spend with landscaping stones/seal/glue, mulch, edging materials, plants, and patio furniture.


During the winter months we spent our time perusing Menards for the retaining wall rock. The plan? Leave the concrete pad and build a rock wall on three sides with two openings to enter and exit the space. We settled on Catalina (tan) from Menards and ordered it in store. 


Fortunate for us, Menards delivered the 2,000+ pounds of rock. But they did so on the rainiest spring day Indiana could conjure and they had to park the semi in the street while using the fork lift to unload two pallets in our driveway rather than our back yard. Yours truly got to gopher them through the garage before stacking them in our workspace so as to save the yard while Andrew was traveling for work. I have to admit, I did take a lot of pride in that...


After my Herculean efforts I decided to plow forward with other parts of the project while Andrew was swooning over his precious wall. I've always thought my freehand lettering was relatively decent so why shouldn't I be able to "free shovel" the curvy edging for our landscaping? Here's my progress...


The trick is to really hollow out the space for your edging. It's easier to fill in a space that's too deep and adjust as you're laying it and fill in the dirt with your hand as you go. 


You've heard me say it before... one man's trash is another man's treasure. Sorry to be so cliche', but it's true. In true fashion I sold these pallets to other DIYers on our local garage sale site so that I could buy flowers for this new space!


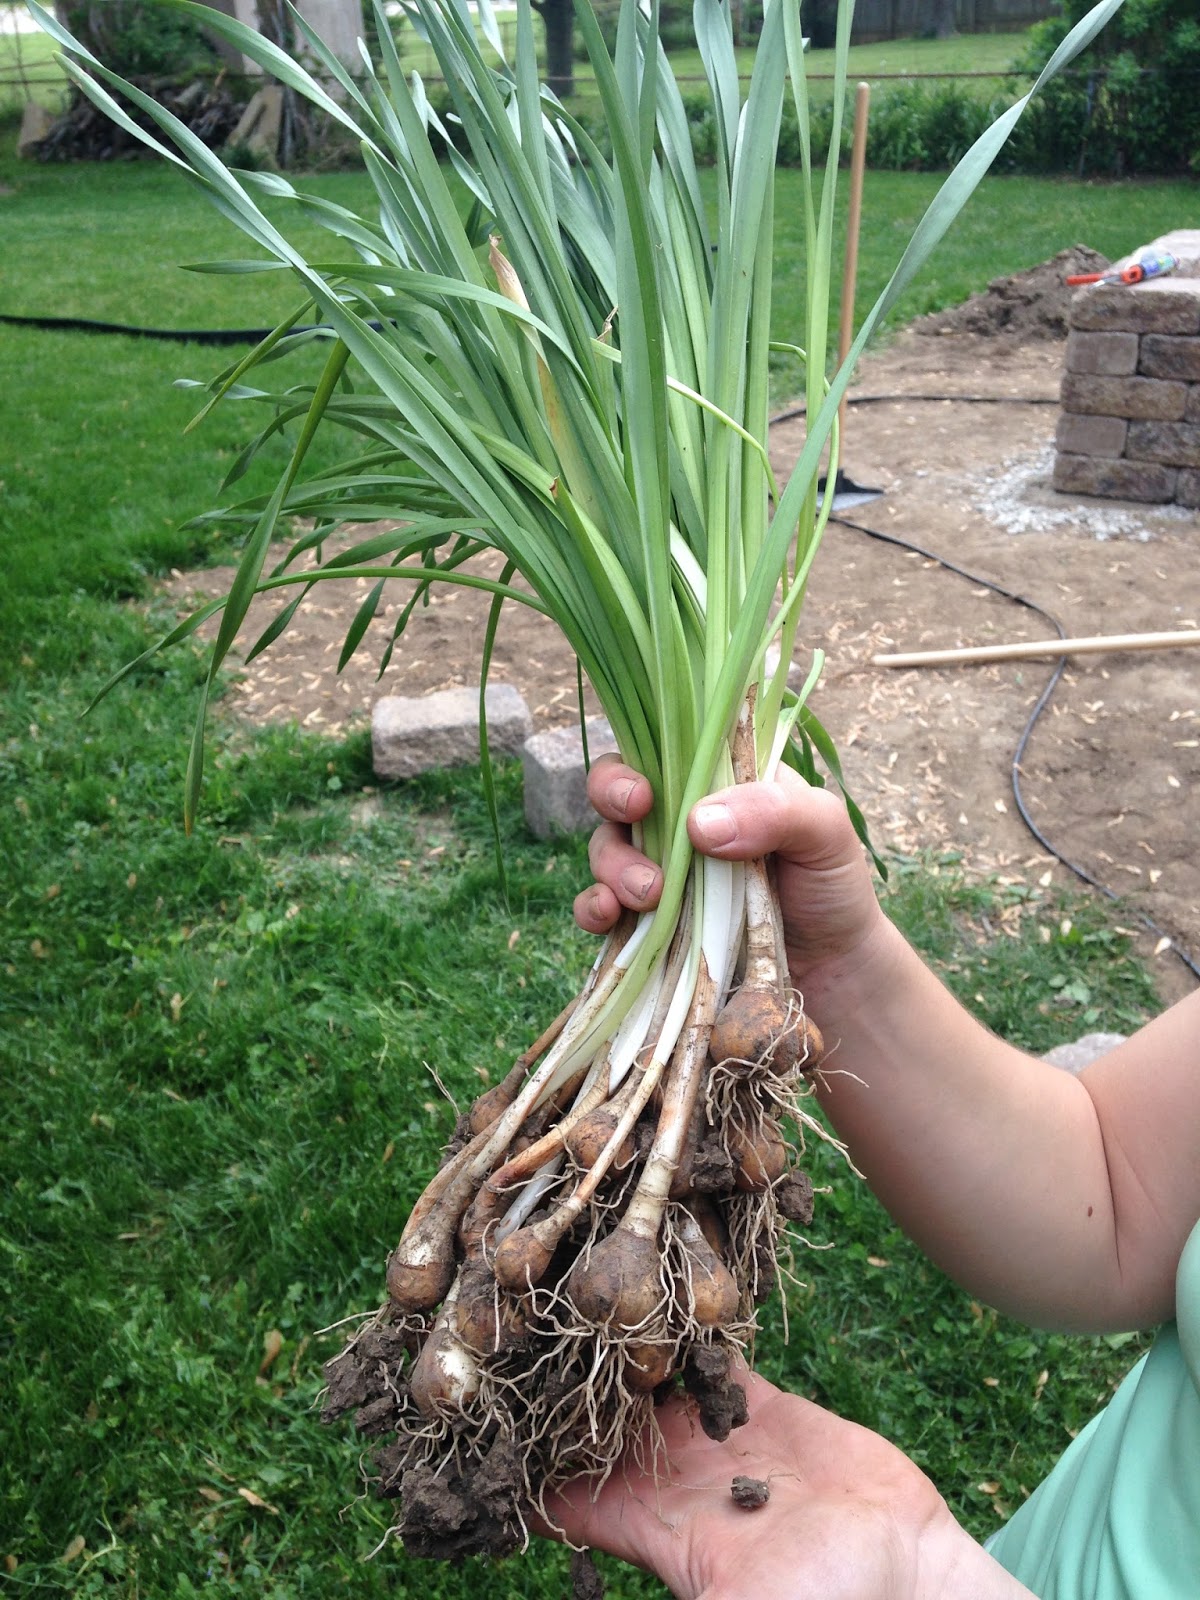
While edging (see progress behind the bulbs) I got distracted by these plants that have continued to come up in the middle of our back yard. In my current shovel-obsessed state I left no bulb unearthed and replanted them in the new space where other landscaping and plants would reside.

UPDATE: they did return this year but have yet to produce a flower. :(


Meanwhile, in retaining rock wall land...


And then while I was on a bachelorette party to Las Vegas he and his brother finished this masterpiece! 


Now this next part intimidated me the most. Most that know my experience with plants know that I do not possess a green thumb. In fact, I'm pretty sure I've returned five or six succulents to Home Depot because I have no idea how to make them happy. 

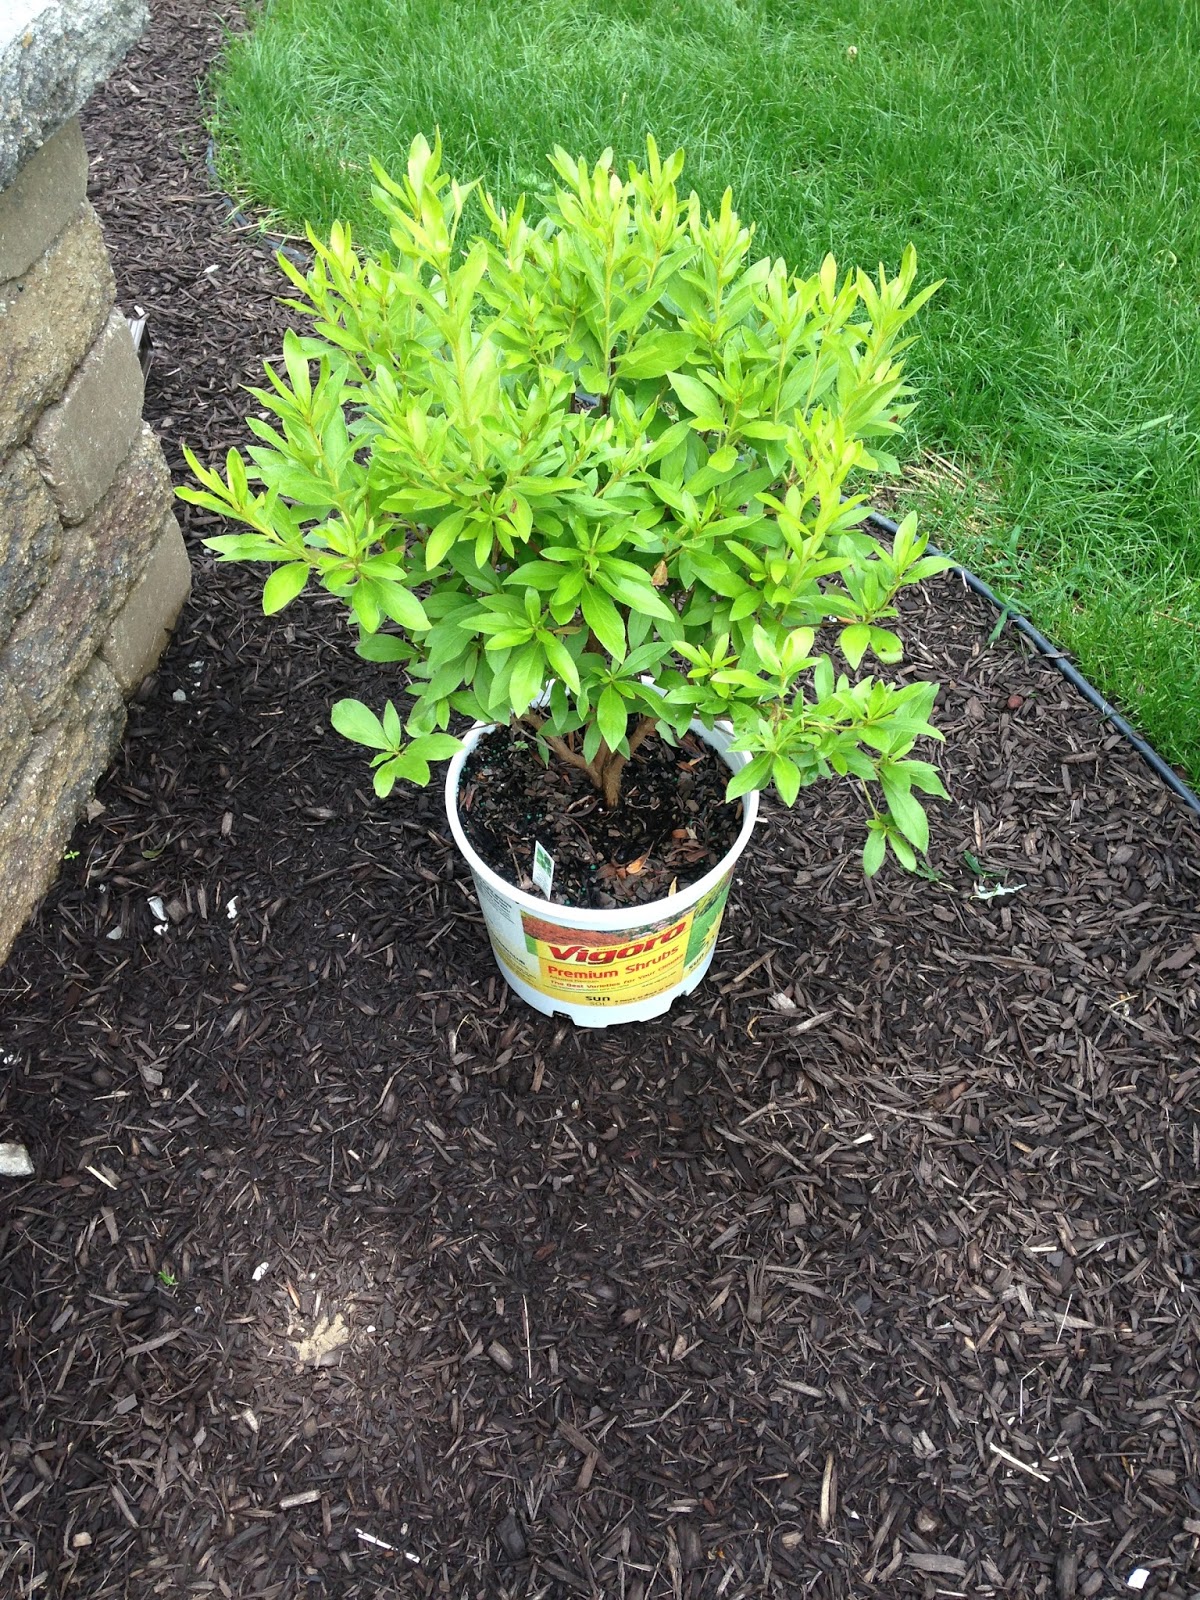
During this process there are two humans, constantly wrangling the lines of thrifty and "this doesn't look thrifted" to come up with solid landscaping options. This first beauty (which we bought two of), was on super sale for $6. It's an Azalea which I am happy to report DID survive through the winter.


Quick rabbit hole.. My husband is still driving his "truck" from high school and their love runs deep. We can debate the term "truck" on another blog post, but I often entice him to prove truck-like attributes. This ended with him severely overloading the cab and bed with more plants than I could possibly kill in one afternoon and gave me one of my favorite homeowner memories.


Those five precious arbor vitae that you see in the back were planted that afternoon. Yes, they too are still alive and well (believe it or not)! You can see my edging work below too - before we plucked the grass and mulched.


Slow but sure, it's come along!


I hate mulch. I think fresh mulch smells like dog poop and I hate putting it all around my house so that when outside all I can think is that someone is slacking on the poop scooping. None the less, Andrew insisted we get mulch, so we visited Edgewood Feed and Seed and settled on the deep brown option from their sample box. Which yes, is even further reminiscent of the poop simile.


Mulching isn't anything to write home about - especially the first time you cover all of the space you want to much. Three or four yards later (I forget honestly), after unloading it in the blazing sun and pouring down rain I was just happy to be done. 


When we did finish mulching, Andrew laid grass seed along the edging to fill in the areas we'd disrupted during our project. It grew very well and was filled in before the end of the season.


I even did edged the side bed too. After we bought three burning bushes I learned that they're not indigenous to Indiana. Unfortunately for me I was face-to-face with a forester and had to appear revolted when she told me that her sister had tried to put the horrible plants in her landscaping. I guess the bonus is that they haven't technically turned red and proven to us that they're truly burning bushes so that makes me feel less guilty. :|


Projects like these don't really end in your back yard. Before you know it the front yard looks like garbage against the remnants that peek through in the back. Which led to this...


Then this...


And now... do you remember what we started with?


Here's the transformation!


When it was all said and done it came together really nicely. We've already made additional improvements since this was taken late last summer, but what a transformation!

Side note, continue reading to learn about our patio set and how I stained it.

Thanks for stopping by the Humble Hammock! What questions did you have from this project?
Thursday, March 17, 2016

Upcycled Patio [Pt. 1]

I was apprehensive to showcase our "shabby" patio space, but now that we're on the other side of the renovation and landscaping, I'm more at ease in sharing the before and after. 

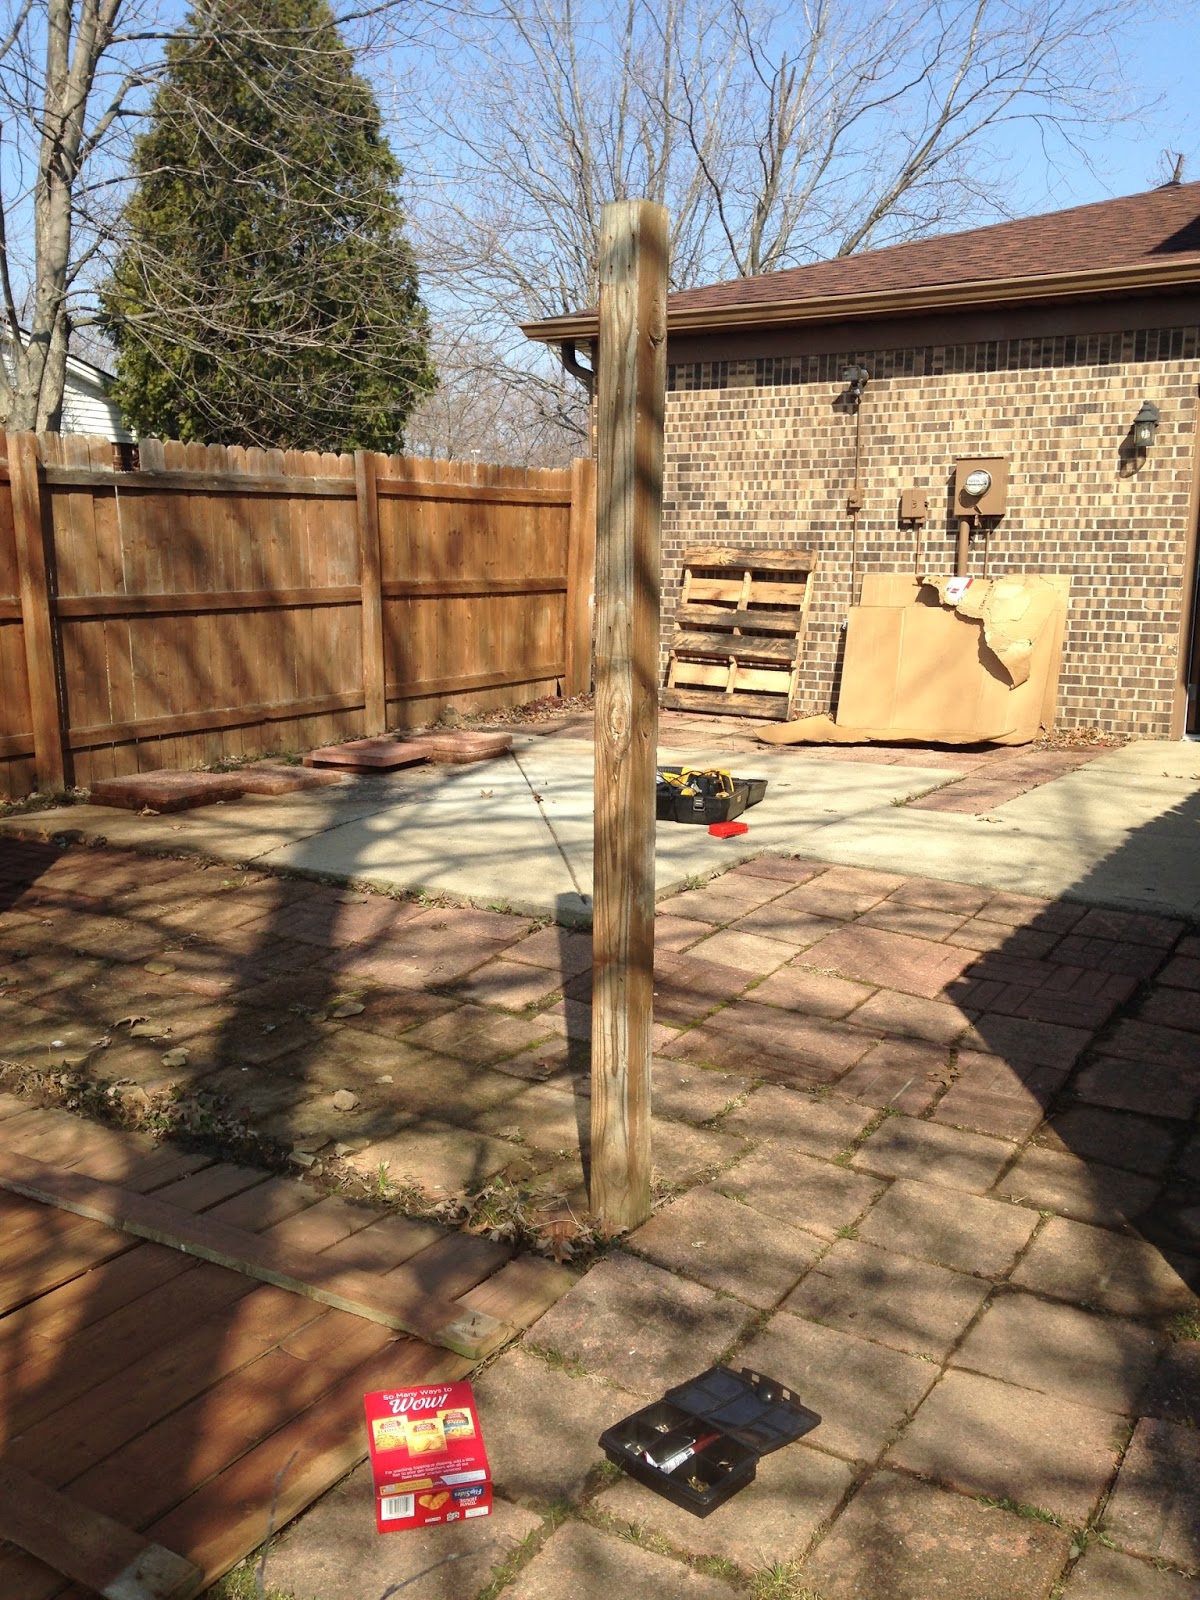
Here's what our space looked like on our official day of demolition. A concrete pad had been poured and used as a space for a hot tub. More than 200 landscaping pavers were sloppily laid to extend the pad and then a privacy fence was erected to complete the space. Maybe it worked for the family before us, but it was certain we'd remove it after we endured our first winter in the home.  

First fence panel comes down!

The fence came apart pretty quickly and I snapped images of the salvageable panels before putting them on our local township garage sale site on Facebook. My husband thought I'd lost my marbles. "Who would want a crappy old fence, Cara?" 

He changed his tune when a line quickly developed to claim the fence and we made a whopping $40! One man's trash is another man's treasure...


I mean, it's not like they looked THAT bad. I determined I'd do some sort of crafting with them if they weren't claimed. 


The fence posts weren't as easy to remove. We dug most of them up but did end up leaving the concrete of one in the ground. I also listed these on our local township garage sale site on Facebook and helped a gentleman load them into his truck the following afternoon. We gave them away but we didn't have to pay to haul them to the junk yard.


Then we pulled up all of those fungus covered pavers and stacked them along the side of the house. Although they were dirty, I knew a power washer would bring them back to life. I bet you wouldn't guess that I listed those on the same Facebook page and had them sold in the day too. We made $.50 each and upped the ante to $140 on our backyard recycle project.


Once all of the old fencing and stones were cleared, we were finally provided a clean slate. In the next week I created a drawing with a full landscaping plan and we began mapping how we would make this a usable space for entertaining. 


Thanks for stopping by the Humble Hammock! Check back for the finished project soon!


Wednesday, December 3, 2014

DIY Edition: Koi Pond Removal

Koi ponds are probably wonderful when maintained. However, this was a mosquito cesspool, animal drowning, ant breeding nuisance. We got distracted by tackling shedding first, but knew getting this Rubbermaid agricultural tank (that's right, it wasn't even a real koi pond) out before winter was a must. We aerated and over seeded our yard this fall too - so it was critical to seed this area so that it wouldn't be behind the rest of our yard come spring. 

Here lies the 300 gallon poisonous water hole with it's equally disturbing shrubbery and (not pictured) endless flat rock. 


To empty the tank, we recruited our families and five gallon buckets. It took about 20 minutes of emptying the tank by hand to get to the bottom. Much like the Rubbermaid containers used for leftover food, it was quite flexible and rubbery, making removal quick. The 2x4 board (pictured below) was used to shake the tub loose from the ground where it had settled.


Once removed, our yard still left plenty to be desired.


My parents brought fill dirt from back home and we used an entire trailer load to fill in the hole. The dirt was then tilled with top soil from The Home Depot to prep it for seeding. 


And here is the finished product!


Thanks for stopping by the Humble Hammock! Do come back :)
Cara

Tuesday, July 8, 2014

DIY Edition: Shedding

When we bought our house last fall we stumbled into a house that I'll refer to as "one in a million" even though there are a few others in our 1970's neighborhood that look quite similar. The gentleman who renovated our home knew the meaning of quality and did a spectacular job on the inside. The outside however was certainly in need of some work and after a full winter of itching to get our hands in our backyard, we were chomping at the bit to keep from lacing it with explosives and starting over.

My better half will tell you that I have a habit of exaggerating. So, tell me, when I say this shed was on the brink of spontaneously combusting, can you really disagree?


78 hours of hard work (divvied up among family and friends) produced this beautiful replacement:


So how did we do it?

  • Stayed focused. There are 100 other projects we want to get to, but spreading our money out among them would have slowed our shed project down. STAY FOCUSED and handle one task at a time. It's much more gratifying. Since this, we've made a 'Honey-Do' list to support our future focus.
  • Admitted we were inexperienced. Our fathers and brothers knew more than us when it came to cutting, measuring, leveraging, building and general carpentry and electrical work. We let them share honest advice so that we could make decisions with the future in mind. 
  • Got educated on exterior paint. Sure, we've painted a billion things, but paint can be tricky. We spent an hour at the Home Depot learning from the paint specialist and getting educated on the tools we needed, the paint that best served our project and technique. After it was all said and done the paint tech even gave us a sweet deal just for being so patient, kind and open to learning. We ended up with Valspar Reserve Exterior paint that was a bit more high end, but only took one coat to cover. According to the paint specialist, that's a rare thing to find!
  • Collected coupons. One of our family members is a war vet and gets the military discount at Lowes. They came with us to buy our lumber and we got a really really good deal on it. Additionally we saved up some gift cards and coupons before making our planned purchase. That planning alone saved us $300 the day we picked up the lumber. Our grand total for the shed remodel landed somewhere between $500-$600 after we got the locks, electrical modifications, paint, hinges, lumber, caulking and roller brushes. Not bad for a shed that would have cost over $2,000 to replace brand new!
Have you done something similar to this before? What were some of your challenges/successes? 

Thanks for stopping by the Humble Hammock and looking around; do come back!

Cara