background

Friday, July 22, 2016

DIY: Staining Furniture

Thanks for sticking with me through part two of my furniture overhaul! I know in the last post I focused heavily on the curio cabinet, but today I'm going to show how I stained my accompanying tables and then reveal the finished camera holder.

As I mentioned, the curio cabinet was made of pine wood. The end tables were already cherry. Since I wanted the two to match it was easier to use a red/cherry stain on the cabinet versus trying to dull down the redness of the tables.

Miniwax (found at your local Lowes / Home Depot) makes some great stain that enhances the quality of the wood without looking overly waxy/finished. I did my due diligence and scoured the internet for feedback on how to match pine to cherry and landed here. I'm very happy with the result but I'll leave it to you to determine how well it worked.


I started by adding one coat of stain to the tables and leaving it on for five minutes before wiping away the unabsorbed stain. I didn't want the tables to be much darker than they already were so the less time the better. I then took the bottom side of one of the curio cabinet shelves and tested (in five minute increments) how long it would take to get the closest color match. The result - 20 minutes!


Here's a half and half of the table progress. Talk about instant gratification!


This is the color difference between a stripped pine shelf and one being stained (before excess was wiped).


And now... the end result(s)! The staining took a bit longer (~1 week) with application AND dry time. I did this during the summer months (in humid Indiana) and it remained tacky longer than I'd hoped. 

*More on my fabulous lamps at another time.


Saturday, July 16, 2016

DIY: Stripping Furniture

In due time I'll write a blog post about my Brownie Camera Collection and the hunt that continually ensues. Until then, I'll tell you that I've been looking for a curio cabinet for these beautiful cameras for nearly a decade. 

Most of my friends have heard about my infatuation with Facebook's garage sale groups. I've alluded to them before. I rarely purchase items but I'm always on the prowl for very specific items. 

I found this cabinet *yes, this is a screen shot from my phone* and knew right away that the scalloped portion on top would pair nicely with a pair of vintage end tables my mother gave me. The going price was $75, but I managed to talk the seller down to $60. There was a loose leg and the glass was popped out on one side, but I had faith in myself and my husband's tool box.


Pine can be stained to match other woods fairly easily as it has a neutral undertone and can be tinted to match woods with stronger hues. So off I went to strip this pine cabinet and ultimately tint it to match my cherry end tables. 

For those of you who have never stripped furniture I recommend pulling the item completely apart so that you can move quickly once you get the stripping process started. Be sure to make room for the wood to dry (standing up) and invest in some thick rubber gloves (I use elbow-high dishwashing gloves from the local grocery). I also like to do the stripping over a drop cloth or trash can to mitigate extra mess.


Citristrip (sold at Home Depot) is one of my favorite stripping agents. It costs less than $20 and will last through multiple pieces of furniture. It's orange based unlike many of the harsh chemical based strippers. The smell is far less overpowering, but don't be fooled - it still packs a tough strip. When using this product I pair it with:
  1.  blue shop towels
  2. a stripping tool
  3. old plastic cup and sponge
  4. elbow-length rubber gloves


To strip:
  • Slip on your rubber gloves
  • Pour some Citristrip into the old cup and add the sponge
  • Glob the product onto the wood with the sponge and begin scrubbing/rubbing onto the wood
At this point the wood will begin to appear watery as the stain/top coat loosens. Keep working the sponge and breaking loose the old covering. If it becomes tacky you'll need to add more Citristrip and keep it moving. DON'T TRY SCRAPING IF IT'S TACKY. You will easily damage the grain of the wood. 


Don't cut corners like I did in these photos. These gloves were leaking Citristrip and caused my hands to peel for more than a week. Don't do this to yourself...


Once the watery top coat is covering the top of the wood, grab your scraper tool and begin to apply pressure and push the solution to the top of the tool before wiping in your shop towel. See the demonstration below...


This is going to be a longer process for pieces with multiple layers of sealant or paint. Be prepared to take your time on each piece to do a quality job before moving on to the next piece. If the wood appears "shiny" after the top coat has been removed there is still remaining topcoat. You may need to repeat steps 2-3 times to see results.


Here's my before and after progress!


And here is the stripped cabinet! This cabinet had one layer of a light stain and came off fairly easily. I had the cabinet and shelves stripped in just a couple of hours.


These tables weren't as compliant. Although incomplete, you can see the difference in the thick coated seal on the back table versus the semi-stripped front table. Each of these tables took me 3-4 hours of tedious stripping. The rounded detail on the core and legs were a challenge for my flat headed stripping tool.


Thanks for stopping by the Humble Hammock! Stay tuned for part two of this post where I cover the staining process!


Friday, May 13, 2016

Refresh: Car Interior

Since I was 16, I have always been made fun of by my friends for having an immaculate car. The thought of half eaten McDoubles and French fries crammed between seats still makes my OCD flare. Unlike most of my friends I dedicated a couple hours a week to vacuuming, detailing, washing and waxing my car. 

Fast forward a decade and those old habits have yet to fizzle out. I upgraded my car (see How to Buy a Car if you need help in that regard) and I was determined to keep it like new. 

That's cute and all, but life happens. It took the first ride in my backseat to see what had been behind my head all that time - upholstery stains! From the moment I saw them I began concocting the perfect  removal remedy in my mind. 

Before I share that with you, go ahead and cast judgement from these images. 


Recipe for Removal:
  1. Acquire baking soda, vinegar and water. Pour one part vinegar and three parts water into a cup. Add one tablespoon of baking soda and allow to fizz. 
  2. Take a clean microfiber cloth or towel and dip it into the mixture before working it in a circular motion over the stain on the upholstery. 
  3. WARNING: You may need to clean the entire upholstery if you clean the stain too well! Start with light pressure when rubbing and allow the spot to dry before doing touch up later. 
  4. Air dry and repeat if necessary. 
Ta-da; threat averted! 

Thanks for stopping by the Humble Hammock! Do you have any car cleaning hacks?

Wednesday, May 4, 2016

Desk Chair Refresh

DISCLAIMER: This post is extremely simple and is only being posted for those with before/after infatuations.

I've had this chair since I was a little girl. It was once white, then brown, and most recently cream with a monogram (see below).


You probably know by now that I can't leave any craft unattempted, so I decided to upgrade my sturdy old chair with a fresh coat of paint. I like to categorize the covering of the monogram and cheesy craft paint as "adulting."

Sherwin Williams, among other brands, have paint samples (yes, for walls. if you can't handle that I put wall paint on this chair you are free to continue surfing the internet) that go on sale every so often at various home stores for somewhere in the ballpark of $2 or less. I got this 3.75 oz jar from Lowes in January and chose a nice shade of blue/grey called Grayish.

Truth be told it ended up on my chair because we repainted our entire downstairs hallway with a different blue/grey paint and I wasn't going to use this sample on any of my walls. 


It took two coats a little patience but it didn't look too shabby once I finished! I have a chair cushion that I use on this chair that I'll be recovering to match. We'll save that whole excursion for another post...


And now.... before and after!


Thanks for stopping by the Humble Hammock. Come back soon to see what other projects I manage to tackle!

Cara

Wednesday, March 23, 2016

Upcycled Patio [Pt. 2]

If you missed out on the initial stages of the patio makeover, take a moment to get up to speed. Then join us here...

As new homeowners it was fair to assess that we knew very little about anything. Since we were going to learn as we went anyway, why not create the patio of our imaginations, right? 

After searching on Google and Pinterest, I came across this inspiration and showed it to my husband. We agreed that not only did it look feasible for our skill set, but affordable too. So we started noodling the numbers to estimate what we should expect to spend with landscaping stones/seal/glue, mulch, edging materials, plants, and patio furniture.


During the winter months we spent our time perusing Menards for the retaining wall rock. The plan? Leave the concrete pad and build a rock wall on three sides with two openings to enter and exit the space. We settled on Catalina (tan) from Menards and ordered it in store. 


Fortunate for us, Menards delivered the 2,000+ pounds of rock. But they did so on the rainiest spring day Indiana could conjure and they had to park the semi in the street while using the fork lift to unload two pallets in our driveway rather than our back yard. Yours truly got to gopher them through the garage before stacking them in our workspace so as to save the yard while Andrew was traveling for work. I have to admit, I did take a lot of pride in that...


After my Herculean efforts I decided to plow forward with other parts of the project while Andrew was swooning over his precious wall. I've always thought my freehand lettering was relatively decent so why shouldn't I be able to "free shovel" the curvy edging for our landscaping? Here's my progress...


The trick is to really hollow out the space for your edging. It's easier to fill in a space that's too deep and adjust as you're laying it and fill in the dirt with your hand as you go. 


You've heard me say it before... one man's trash is another man's treasure. Sorry to be so cliche', but it's true. In true fashion I sold these pallets to other DIYers on our local garage sale site so that I could buy flowers for this new space!


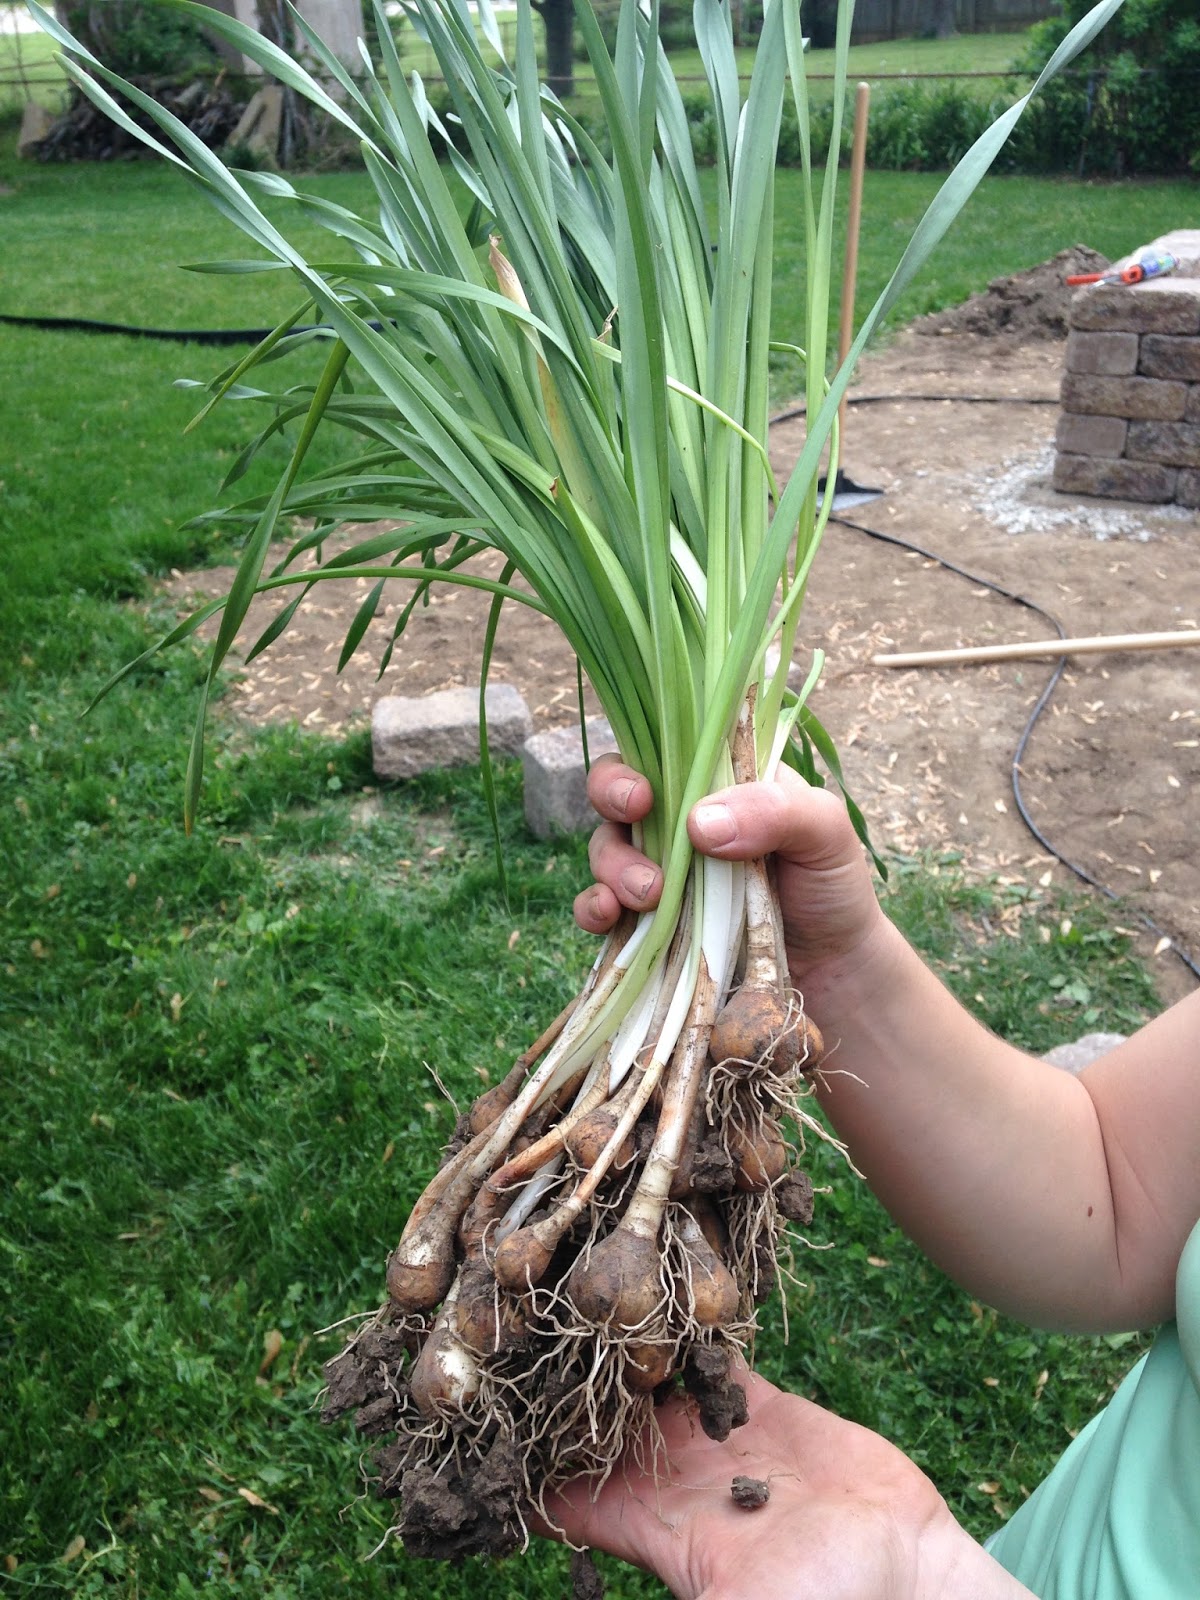
While edging (see progress behind the bulbs) I got distracted by these plants that have continued to come up in the middle of our back yard. In my current shovel-obsessed state I left no bulb unearthed and replanted them in the new space where other landscaping and plants would reside.

UPDATE: they did return this year but have yet to produce a flower. :(


Meanwhile, in retaining rock wall land...


And then while I was on a bachelorette party to Las Vegas he and his brother finished this masterpiece! 


Now this next part intimidated me the most. Most that know my experience with plants know that I do not possess a green thumb. In fact, I'm pretty sure I've returned five or six succulents to Home Depot because I have no idea how to make them happy. 

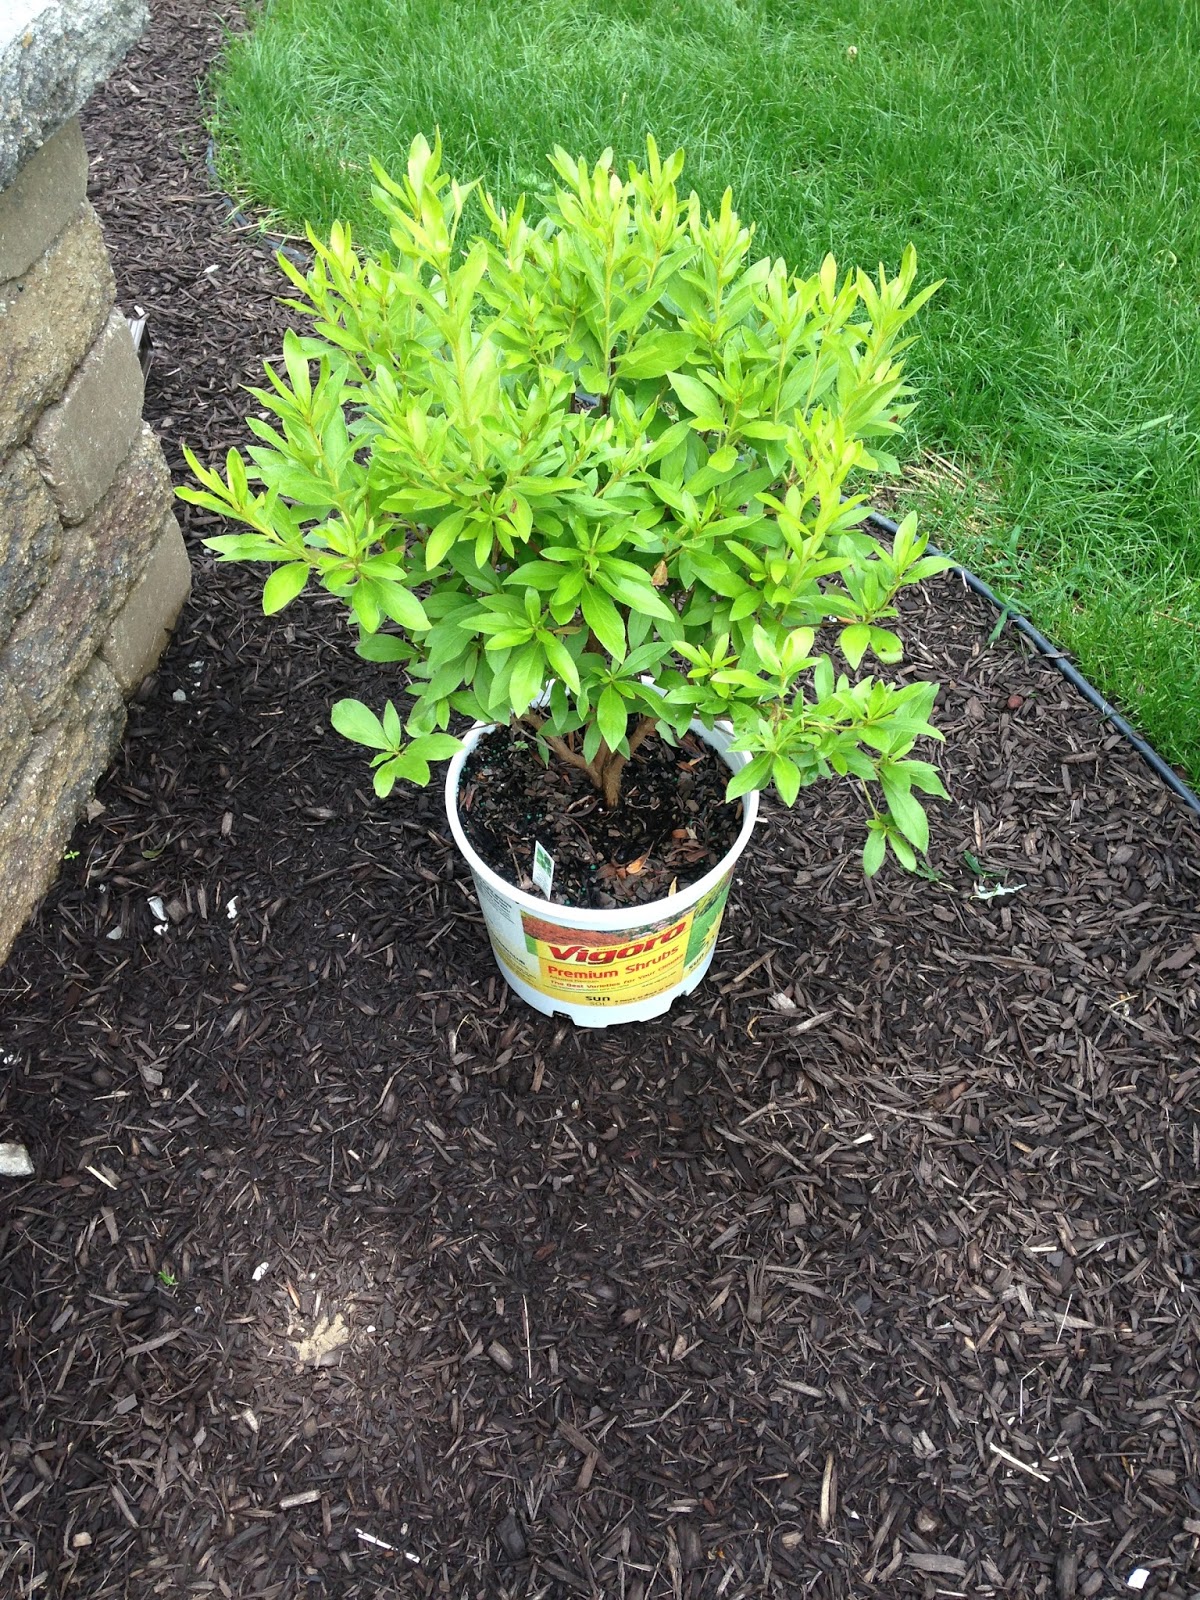
During this process there are two humans, constantly wrangling the lines of thrifty and "this doesn't look thrifted" to come up with solid landscaping options. This first beauty (which we bought two of), was on super sale for $6. It's an Azalea which I am happy to report DID survive through the winter.


Quick rabbit hole.. My husband is still driving his "truck" from high school and their love runs deep. We can debate the term "truck" on another blog post, but I often entice him to prove truck-like attributes. This ended with him severely overloading the cab and bed with more plants than I could possibly kill in one afternoon and gave me one of my favorite homeowner memories.


Those five precious arbor vitae that you see in the back were planted that afternoon. Yes, they too are still alive and well (believe it or not)! You can see my edging work below too - before we plucked the grass and mulched.


Slow but sure, it's come along!


I hate mulch. I think fresh mulch smells like dog poop and I hate putting it all around my house so that when outside all I can think is that someone is slacking on the poop scooping. None the less, Andrew insisted we get mulch, so we visited Edgewood Feed and Seed and settled on the deep brown option from their sample box. Which yes, is even further reminiscent of the poop simile.


Mulching isn't anything to write home about - especially the first time you cover all of the space you want to much. Three or four yards later (I forget honestly), after unloading it in the blazing sun and pouring down rain I was just happy to be done. 


When we did finish mulching, Andrew laid grass seed along the edging to fill in the areas we'd disrupted during our project. It grew very well and was filled in before the end of the season.


I even did edged the side bed too. After we bought three burning bushes I learned that they're not indigenous to Indiana. Unfortunately for me I was face-to-face with a forester and had to appear revolted when she told me that her sister had tried to put the horrible plants in her landscaping. I guess the bonus is that they haven't technically turned red and proven to us that they're truly burning bushes so that makes me feel less guilty. :|


Projects like these don't really end in your back yard. Before you know it the front yard looks like garbage against the remnants that peek through in the back. Which led to this...


Then this...


And now... do you remember what we started with?


Here's the transformation!


When it was all said and done it came together really nicely. We've already made additional improvements since this was taken late last summer, but what a transformation!

Side note, continue reading to learn about our patio set and how I stained it.

Thanks for stopping by the Humble Hammock! What questions did you have from this project?

Thursday, March 17, 2016

Upcycled Patio [Pt. 1]

I was apprehensive to showcase our "shabby" patio space, but now that we're on the other side of the renovation and landscaping, I'm more at ease in sharing the before and after. 

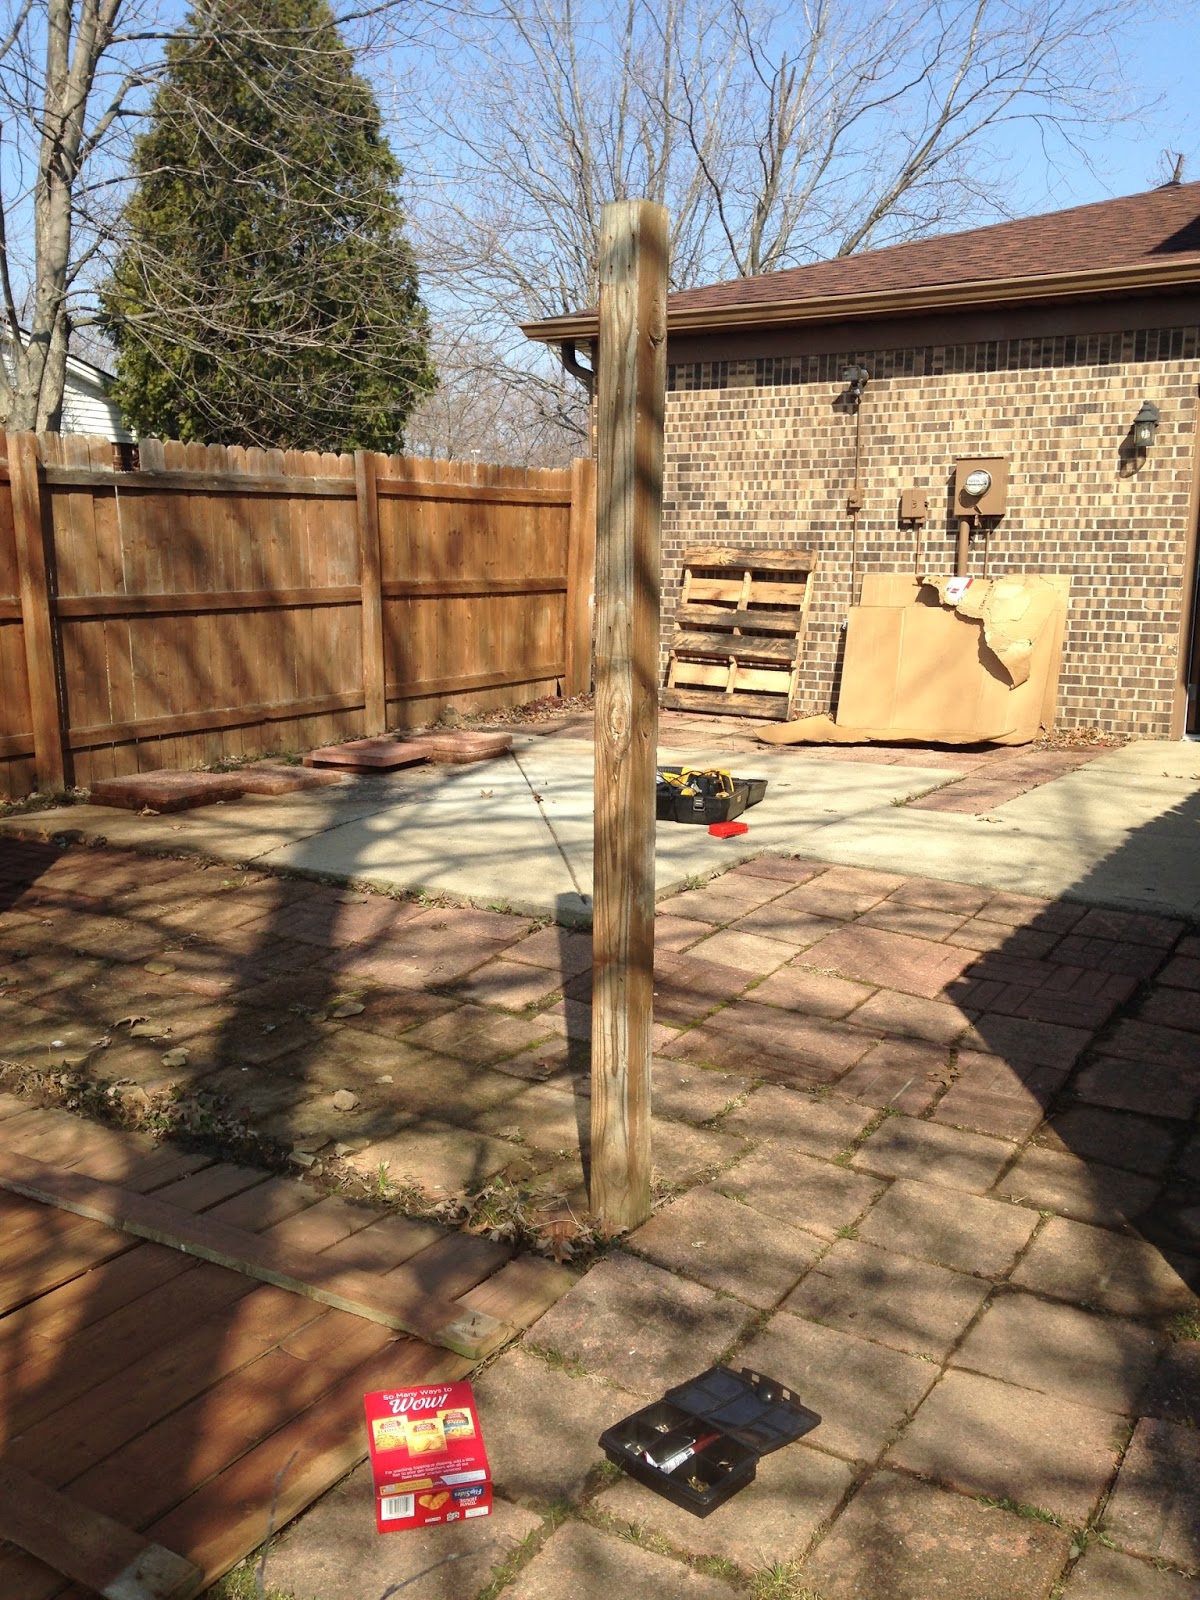
Here's what our space looked like on our official day of demolition. A concrete pad had been poured and used as a space for a hot tub. More than 200 landscaping pavers were sloppily laid to extend the pad and then a privacy fence was erected to complete the space. Maybe it worked for the family before us, but it was certain we'd remove it after we endured our first winter in the home.  

First fence panel comes down!

The fence came apart pretty quickly and I snapped images of the salvageable panels before putting them on our local township garage sale site on Facebook. My husband thought I'd lost my marbles. "Who would want a crappy old fence, Cara?" 

He changed his tune when a line quickly developed to claim the fence and we made a whopping $40! One man's trash is another man's treasure...


I mean, it's not like they looked THAT bad. I determined I'd do some sort of crafting with them if they weren't claimed. 


The fence posts weren't as easy to remove. We dug most of them up but did end up leaving the concrete of one in the ground. I also listed these on our local township garage sale site on Facebook and helped a gentleman load them into his truck the following afternoon. We gave them away but we didn't have to pay to haul them to the junk yard.


Then we pulled up all of those fungus covered pavers and stacked them along the side of the house. Although they were dirty, I knew a power washer would bring them back to life. I bet you wouldn't guess that I listed those on the same Facebook page and had them sold in the day too. We made $.50 each and upped the ante to $140 on our backyard recycle project.


Once all of the old fencing and stones were cleared, we were finally provided a clean slate. In the next week I created a drawing with a full landscaping plan and we began mapping how we would make this a usable space for entertaining. 


Thanks for stopping by the Humble Hammock! Check back for the finished project soon!